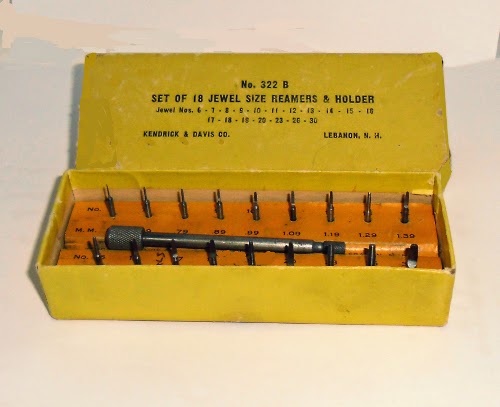
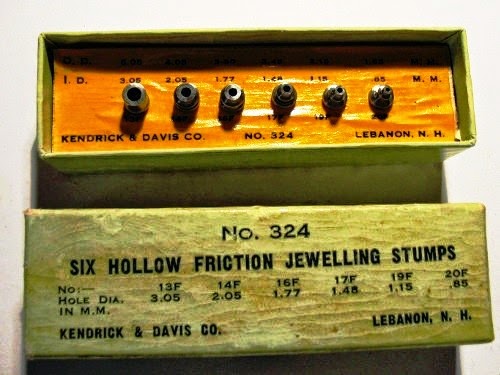
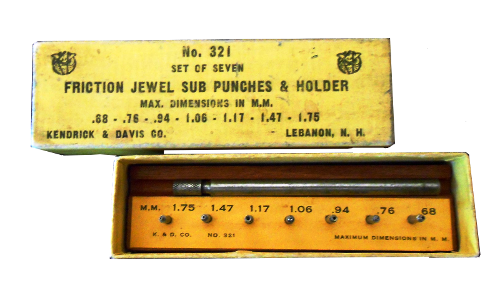
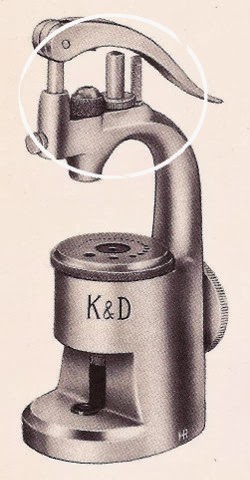
The K&D Model 18R Deluxe came with three separate jeweling sets. They include those pictured below:
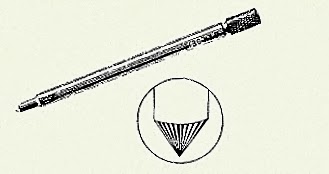
- 321 – Seven Friction Jewel Subpunches
- 322B – 18 Jewel Size Reamers and Holder
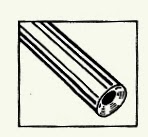
- 324 – Six Hollow Friction Jeweling Stumps
I bought these sets separately. I don’t like the 18R box as it created difficulty when I reached for punches. The
I also prefer the 600 series and the No. 17
Below is a tutorial I posted in an earlier post. It may help you understand the use of these tools.
What’s Friction Jeweling any way?
In 1924, Hamilton took credit for the first improvement in jeweling since Nicolas Facio patented the use of jewels in watches in 1704. Hamilton called their system “improved jeweling”. Now, the Swiss claim they invented friction jeweling, but they haven’t produced any names or dates to substantiate their claim that I can find.
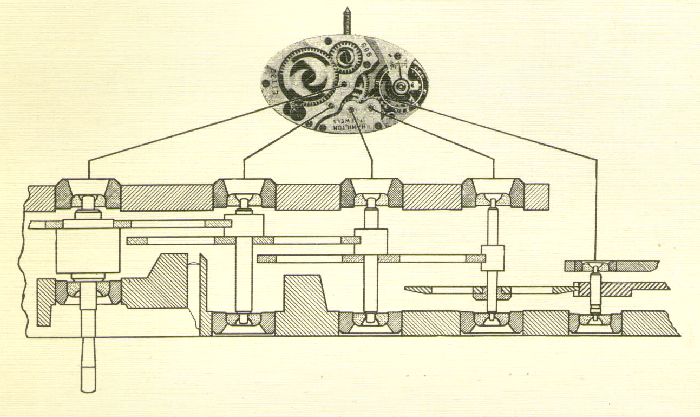
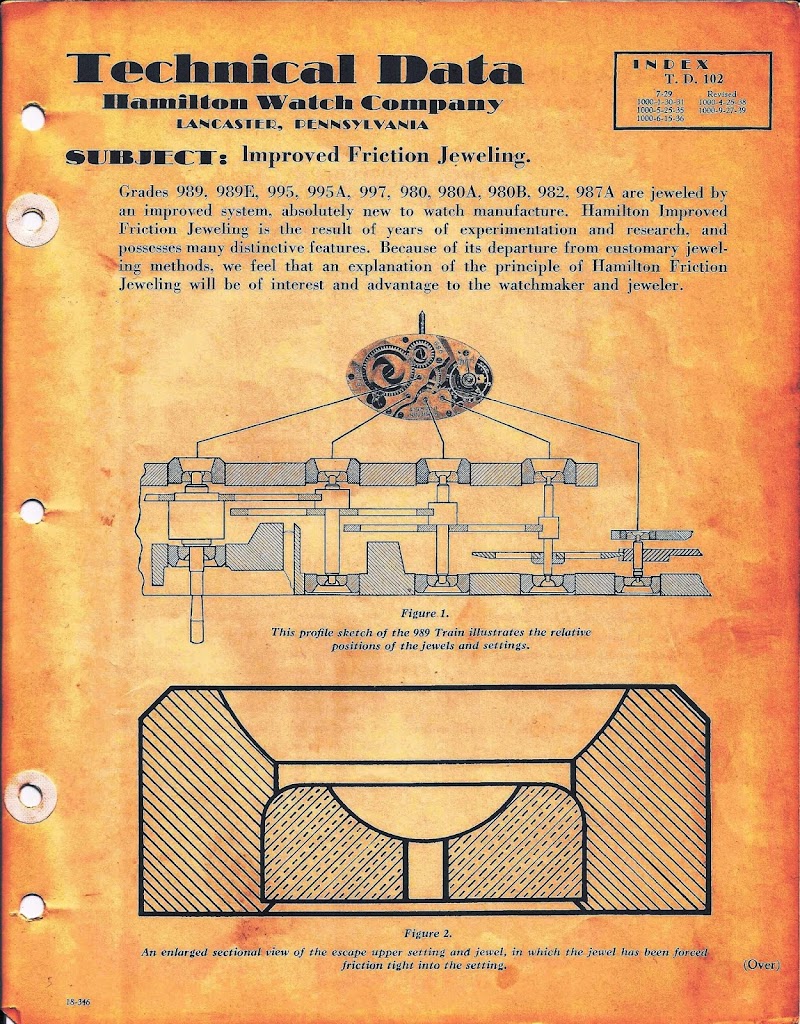
Let’s look at what Hamilton said. First, they claimed that as a result of years of experimentation and research, that they came up with the “Hamilton Improved Friction Jeweling” method.
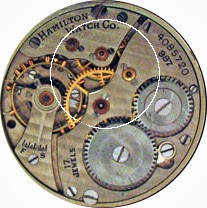
They then demonstrated it on the 989 18/0 watch movement.
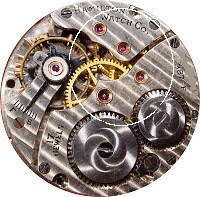
While difficult to decipher from the image above, the 989 did not have bezel rings holding their jewels in place. You can see the difference in the two types of jeweling methods in the photos below.
Hamilton released its first 987 caliber wristwatch movement with beveled
Little information exists
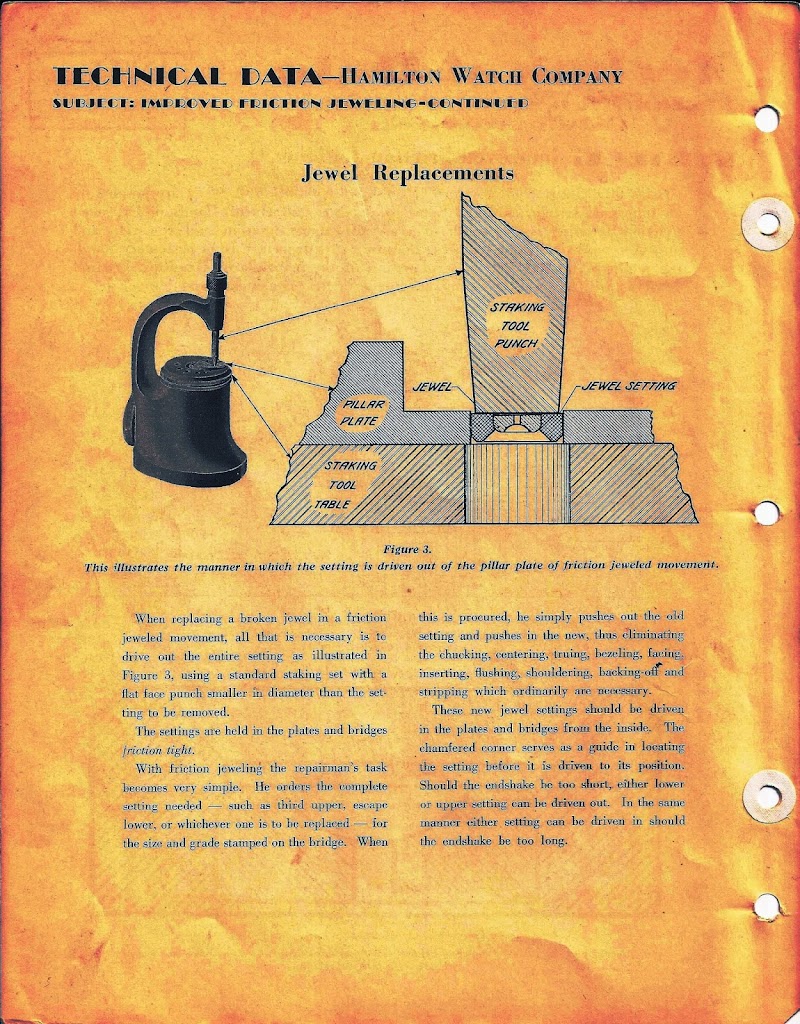
In this small post, we can look at how K&D and Moseley recommended replacing friction jewels.
The method for replacing a broken or dysfunctional jewel involves:
- Measuring
- Knocking out the old jewel and
- Setting a new jewel.
Once you discover the simplicity of friction jeweling, anxiety about it will fade. Let’s go through the steps so we can move forward in our understanding of watch maintenance and repair.
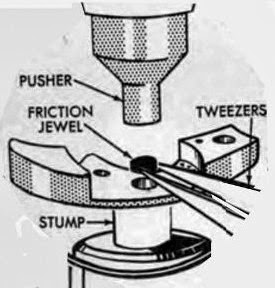
1. Select a jeweling stump with a hole larger than the jewel needing replacement. Place the stump in the die plate of your staking tool and center.
2. Select a pusher smaller than the jewel needing replacement. Place the pusher in its holder and secure it in the frame sleeve.
 |
3. With the exception of Balance Jewels, use the pusher to adjust the micrometer. For example, place a watch bridge on the stump facing up. Rest the pusher on the old jewel and adjust your micrometer to limit the movement of the pusher. Jot down the setting on a piece of paper and use it when setting the depth for the replacement jewel.
4. Lower the micrometer stop and press on the old jewel to remove it.
5. If you have
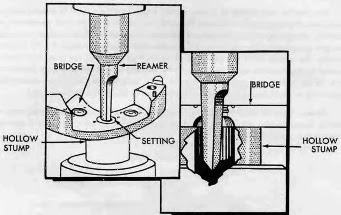
6. If you need to refinish the hole, pick out one of the reamers. Make sure it is
7. You can now ream the jewel hole for your replacement jewel.
8. Again, use the holder for the reamer and place it through the staking frame’s sleeve.
9. Don’t let the reamer go further than a millimeter into the hole.
10. Turn it to create a smooth and appropriate size hole.
11. Use a cone miller to remove any burrs from the edges of the hole.
 12. Now, you can place the jewel in the reamed out hole. Make sure the oil
13. Use the pusher from step 2. Set the micrometer as you did in step 3.
14. Rest the pusher on
15. Check to see if the watch part using the hole has a proper end-shake. You’ll need to rely on whatever literature exists for your watch.

16. If you have to reset the jewel, adjust the micrometer stop and reset the jewel.
17. If friction type settings are loose in the plates or bridges of your watch, you’ll need to tighten it by closing the hole.
18. Use a taper mouth closing punch. (K&D punches 31 through 38A. Moseley E1 through E9).
19. A taper mouth closing punch draws soft metal in and reduced the size of the a jewel hole.
20. Select a punch slightly smaller than the setting.
21. Place the setting on a flat face stump, center it and tap the punch. You will see a groove that will help create a tight fit. Proceed at a slow pace as this tightening process will incorporate trial and error.
I wrote this as a high level view of the jeweling process. The entire scope of jeweling is a body of knowledge in itself. Never-the-less, I found this information helpful. It took the mystery out of the process for me.
[Click on image to enlarge]
